User Manual
This document will walk you through executing a laboratory exercise.
Requirements for your computer
Any recent computer should handle our laboratory, but there are some things to keep in mind.
- Every computer bought in last three years should work.
- You should use recent browser mozilla firefox and google chrome are preferred (due to limited assets we can’t test on other browsers, but in principle laboratory should be usable there).
- SILF requires decent network connection to send video of the equipment, so if you are on mobile data plan, keep data usage in mind. Also if your network administrator uses a very restrictive policy (which sometimes happens at schools) laboratory might not work.
Creating an account
SILF laboratory is maintained in a framework of EC funded project Stem4Youth,
so to use the laboratory you should create account on the project website
(you’ll be also re-directed there when you click log in button).
To create an account you’ll need to provide: e-mail address, username, and password.
After your account is fully set up (you’ll need to confirm your e-mail address), you can use the laboratory.
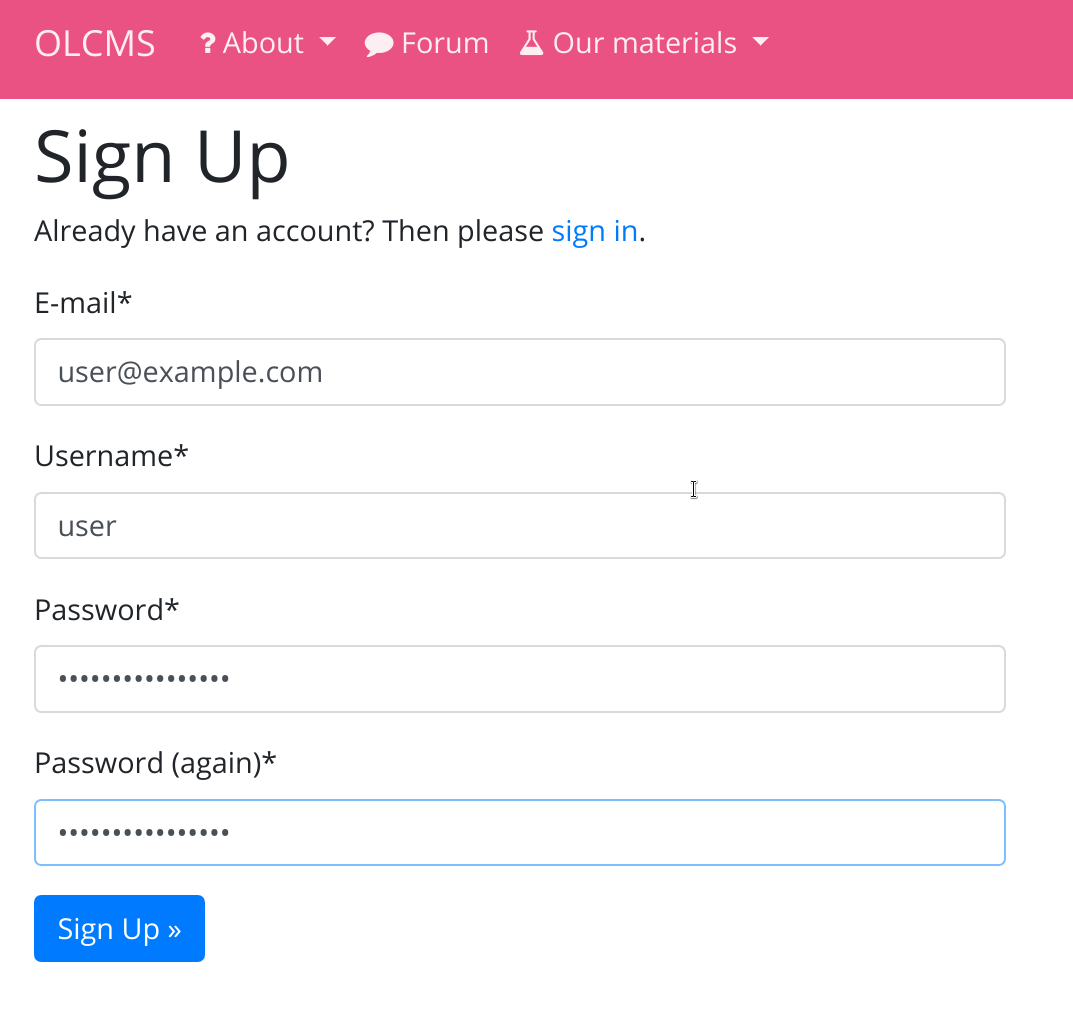
Account creation dialog.
Logging in
To log-in please click on “log-in” button, and then fill in username and password. Since laboratory shares log in information with the project website, if you are already logged on the project website you will be logged in automatically.
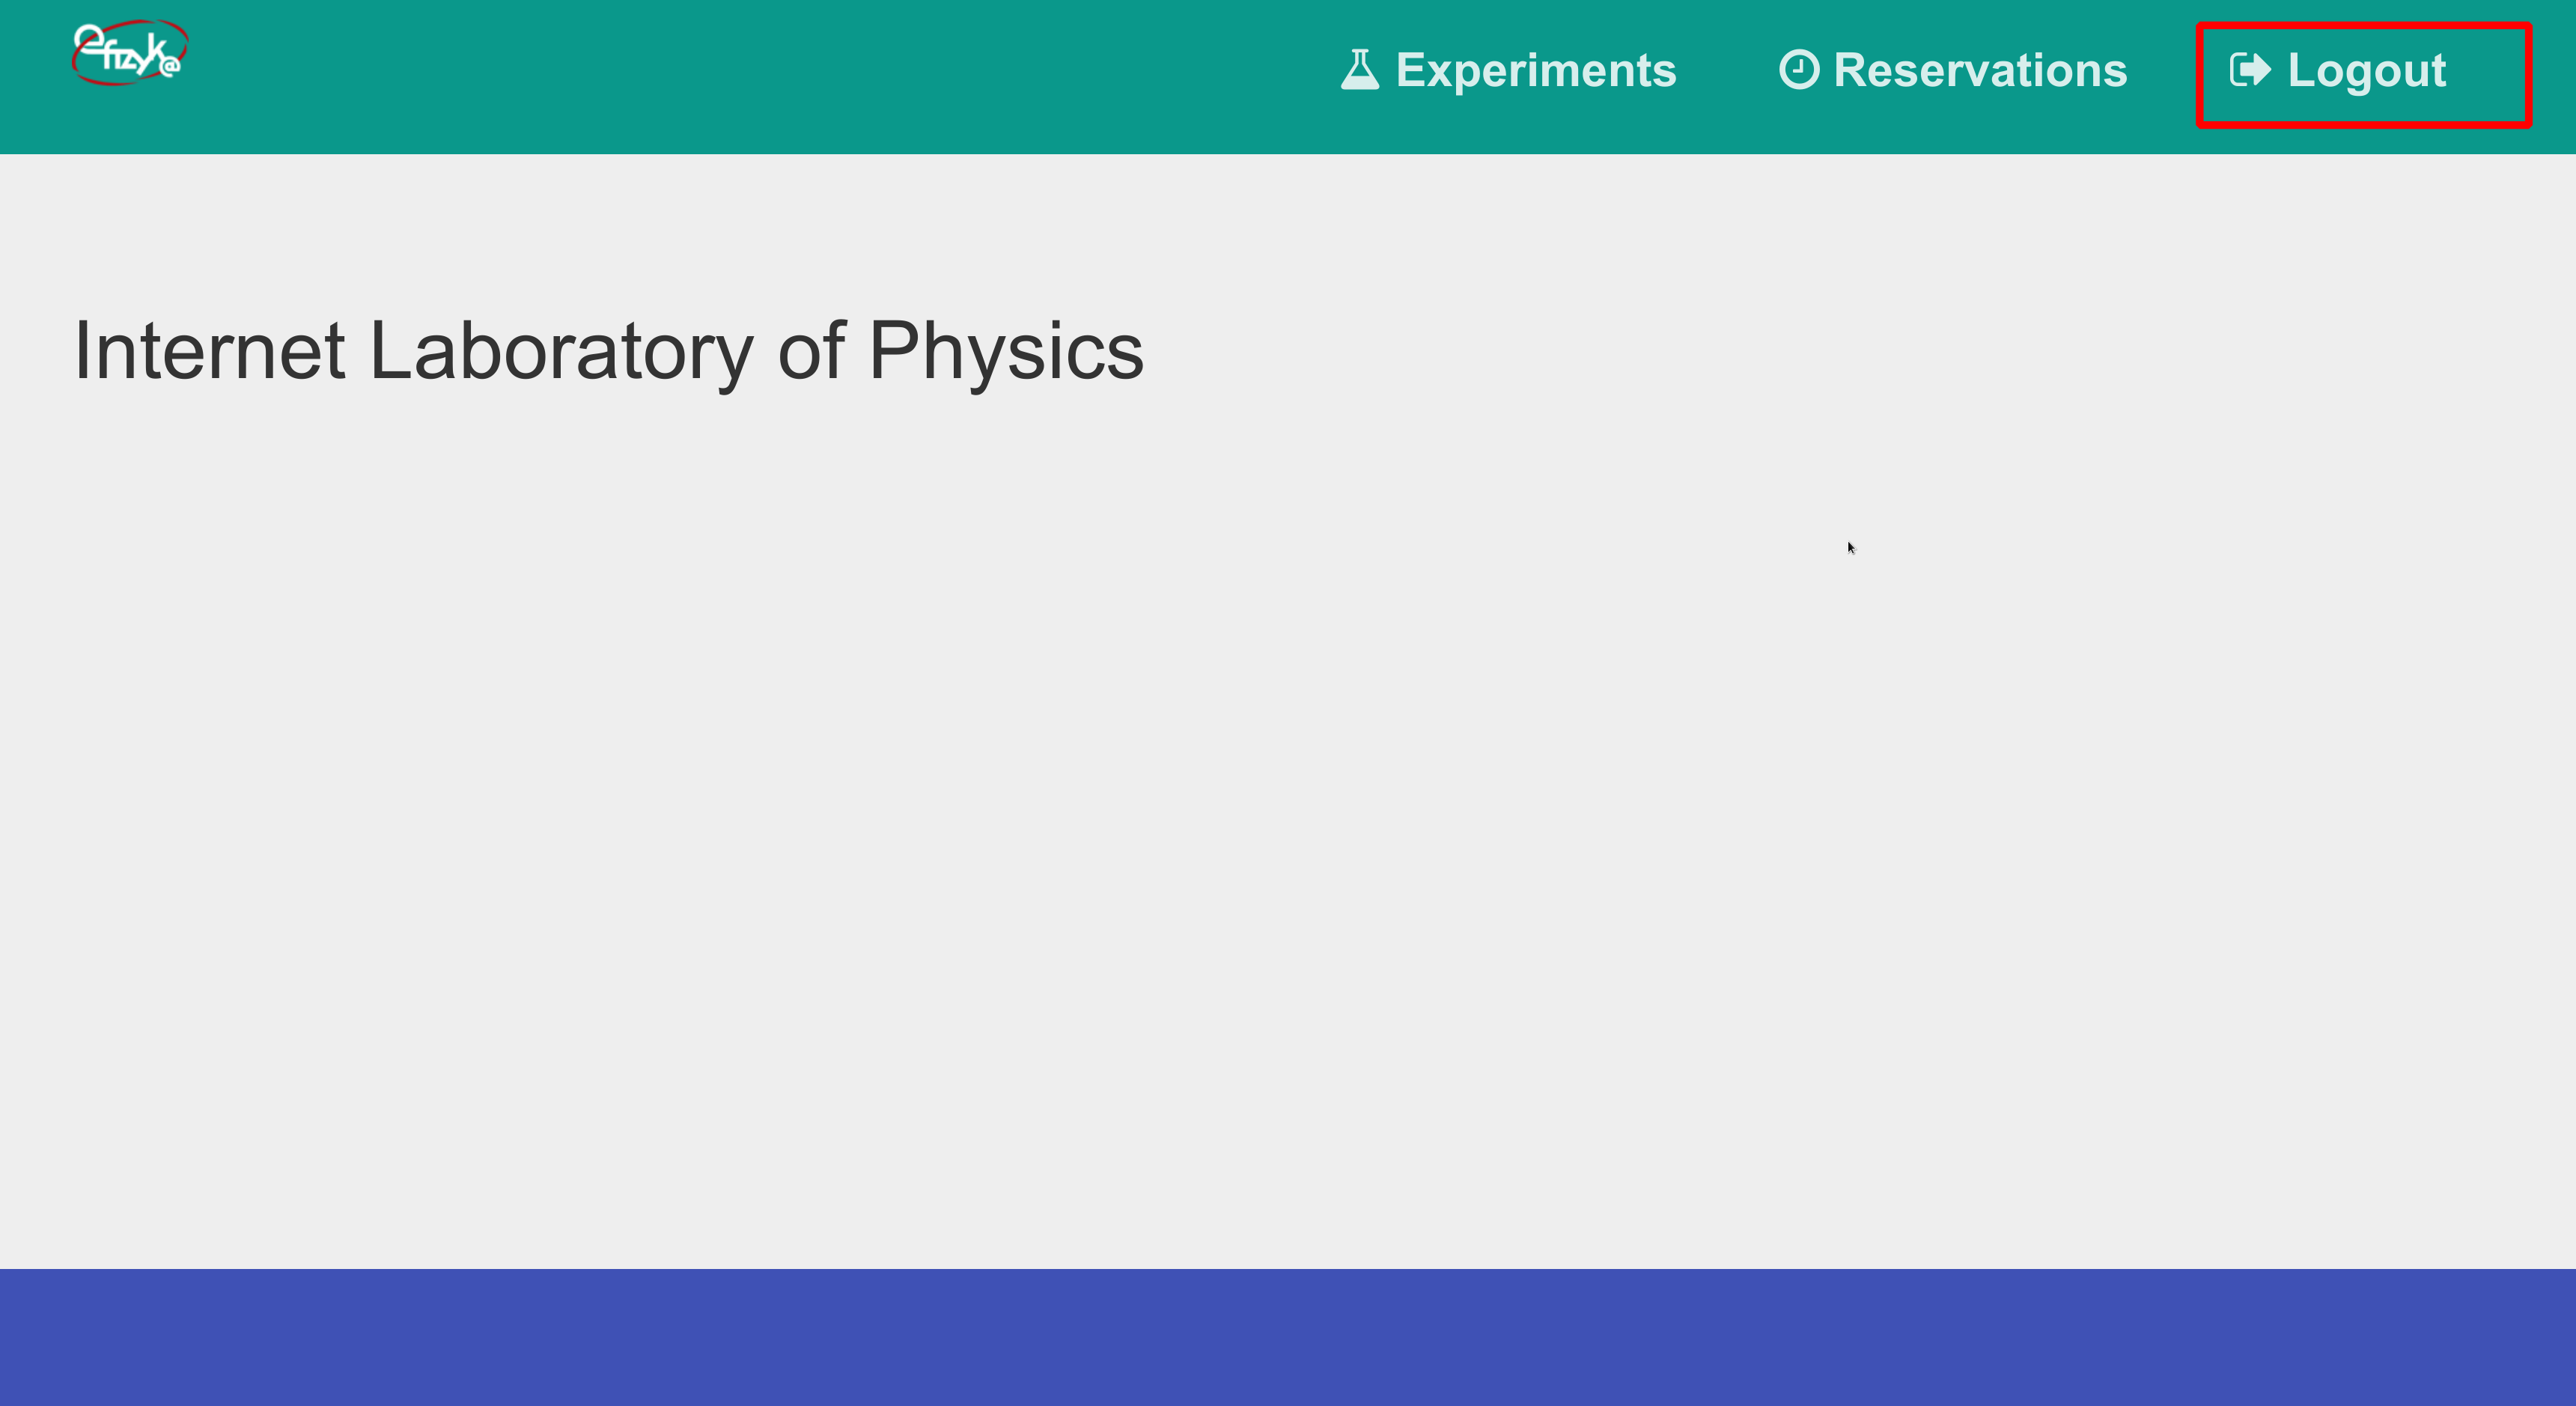
When you are logged in you’ll see logout button.
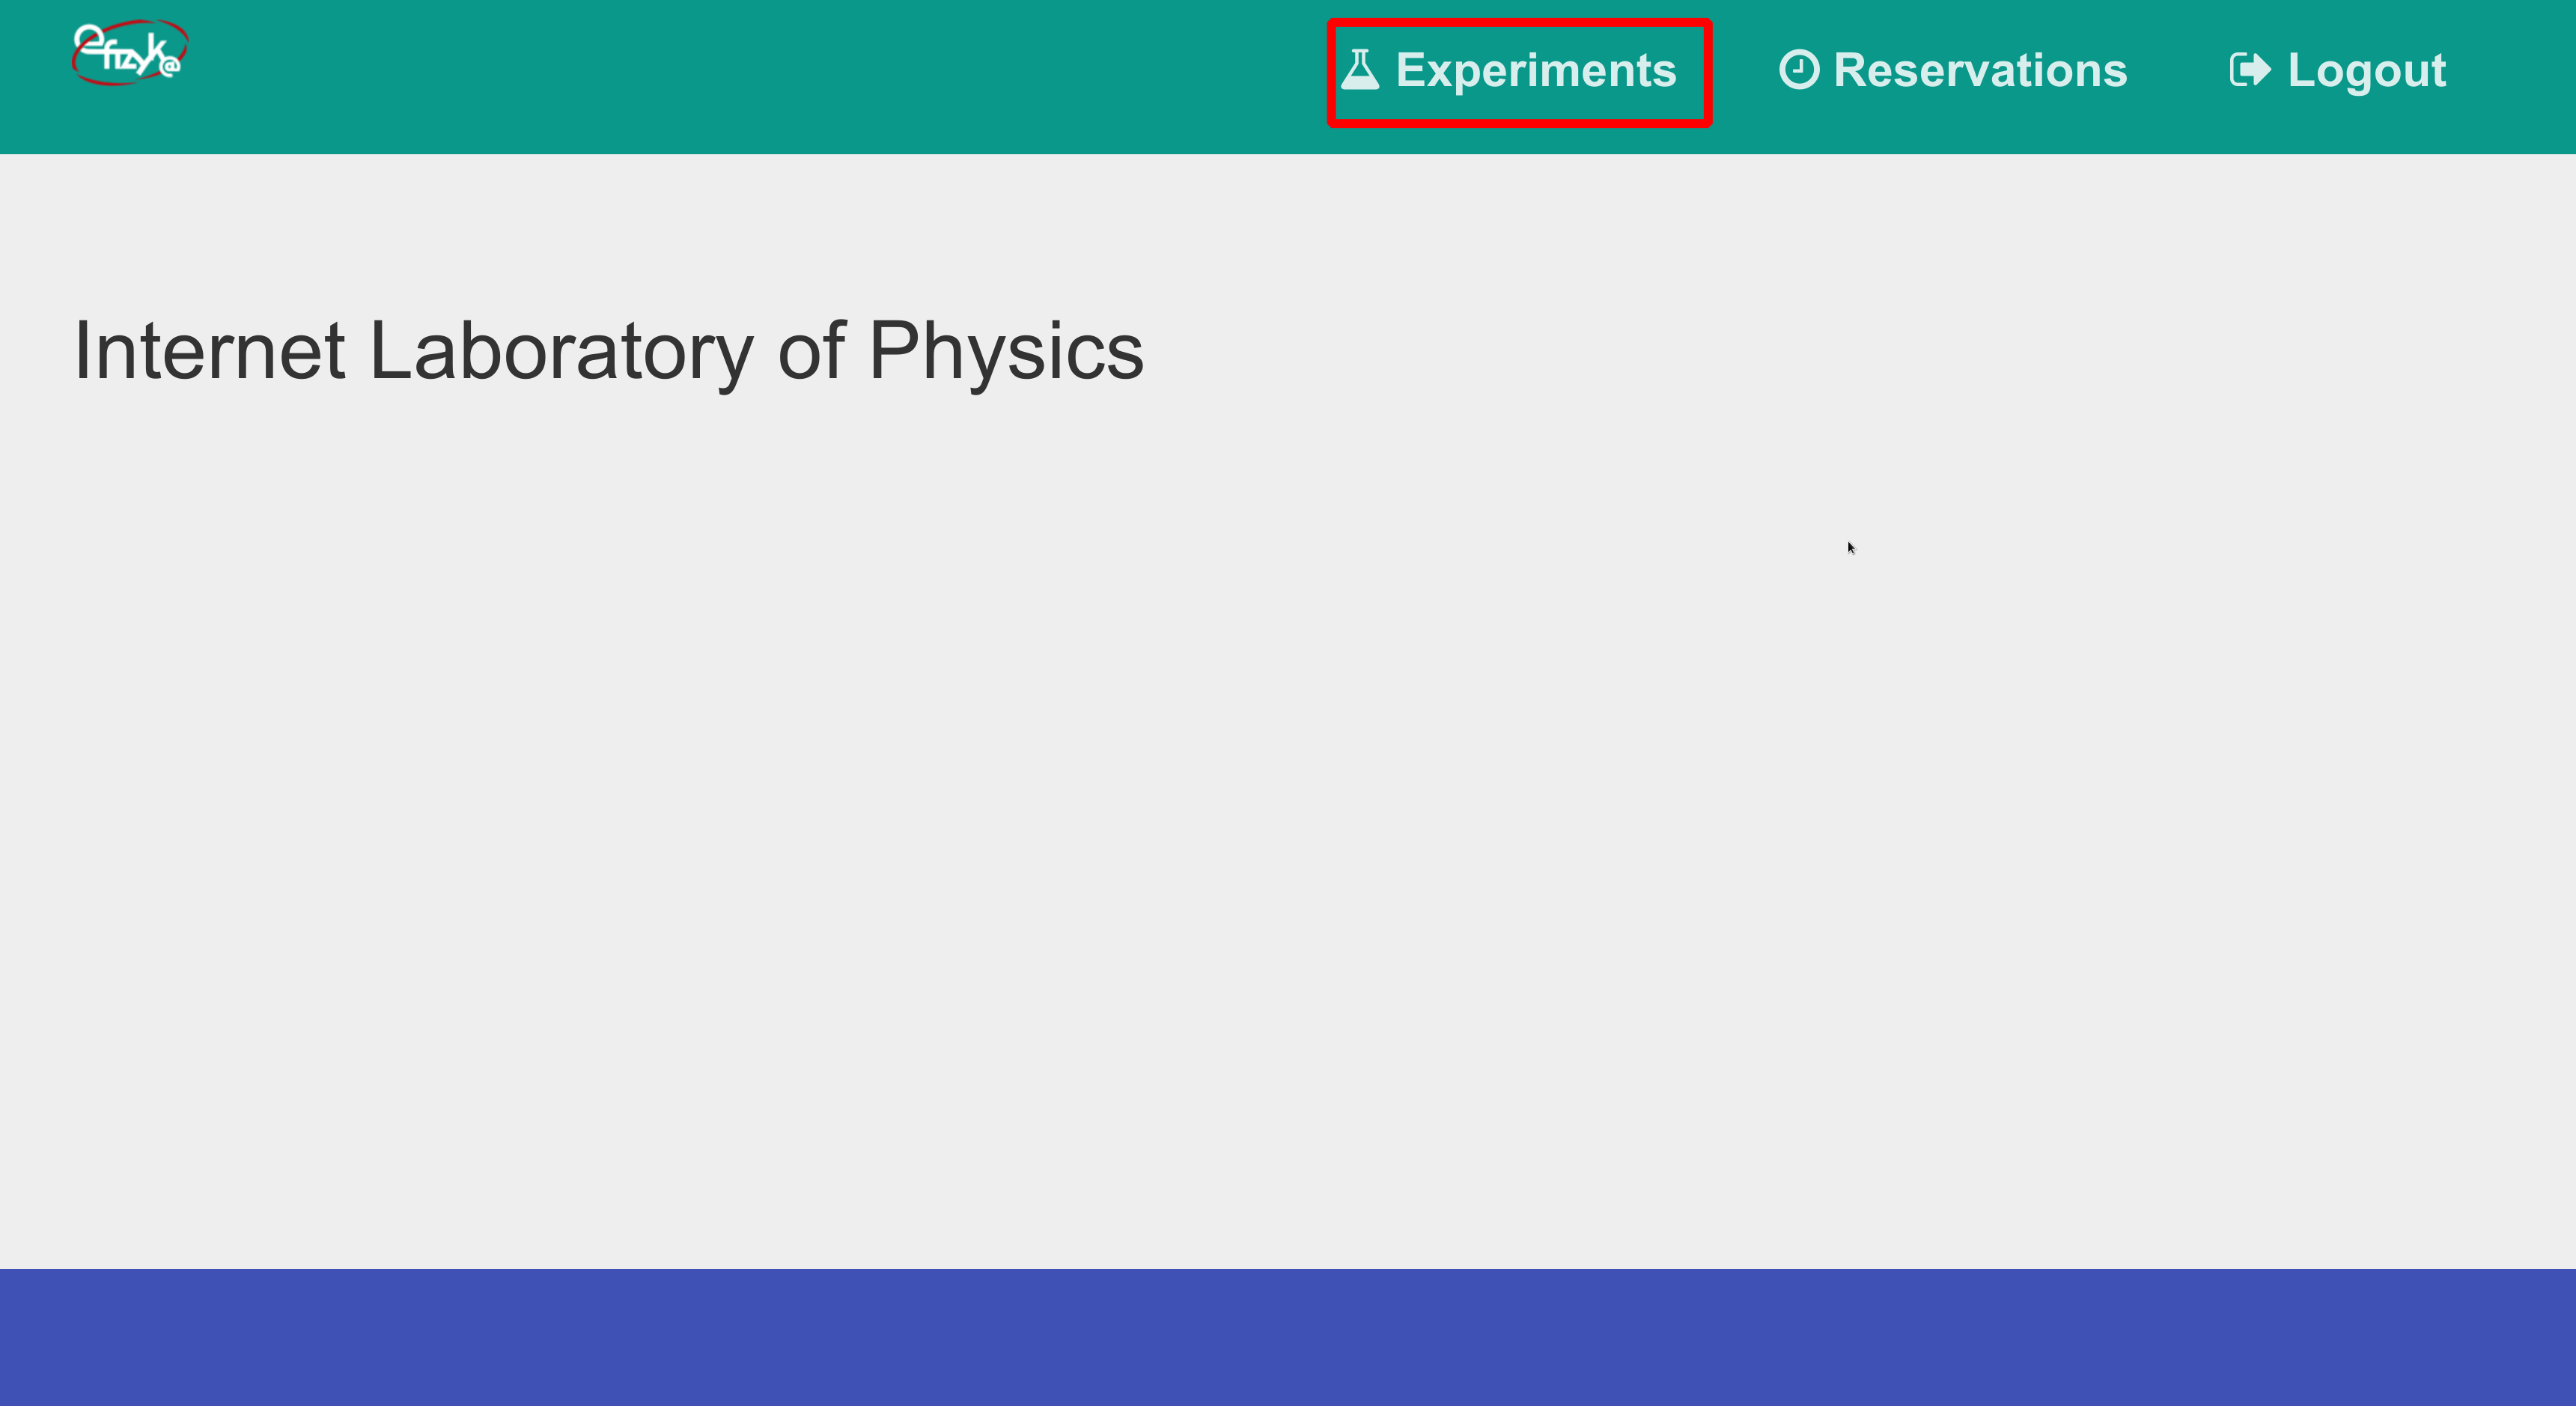
Selecting the experiment
Now you need to select the experiment you want to use, selecting experiment you need is out of scope for this manual, but you might use this page for details regarding experiments.
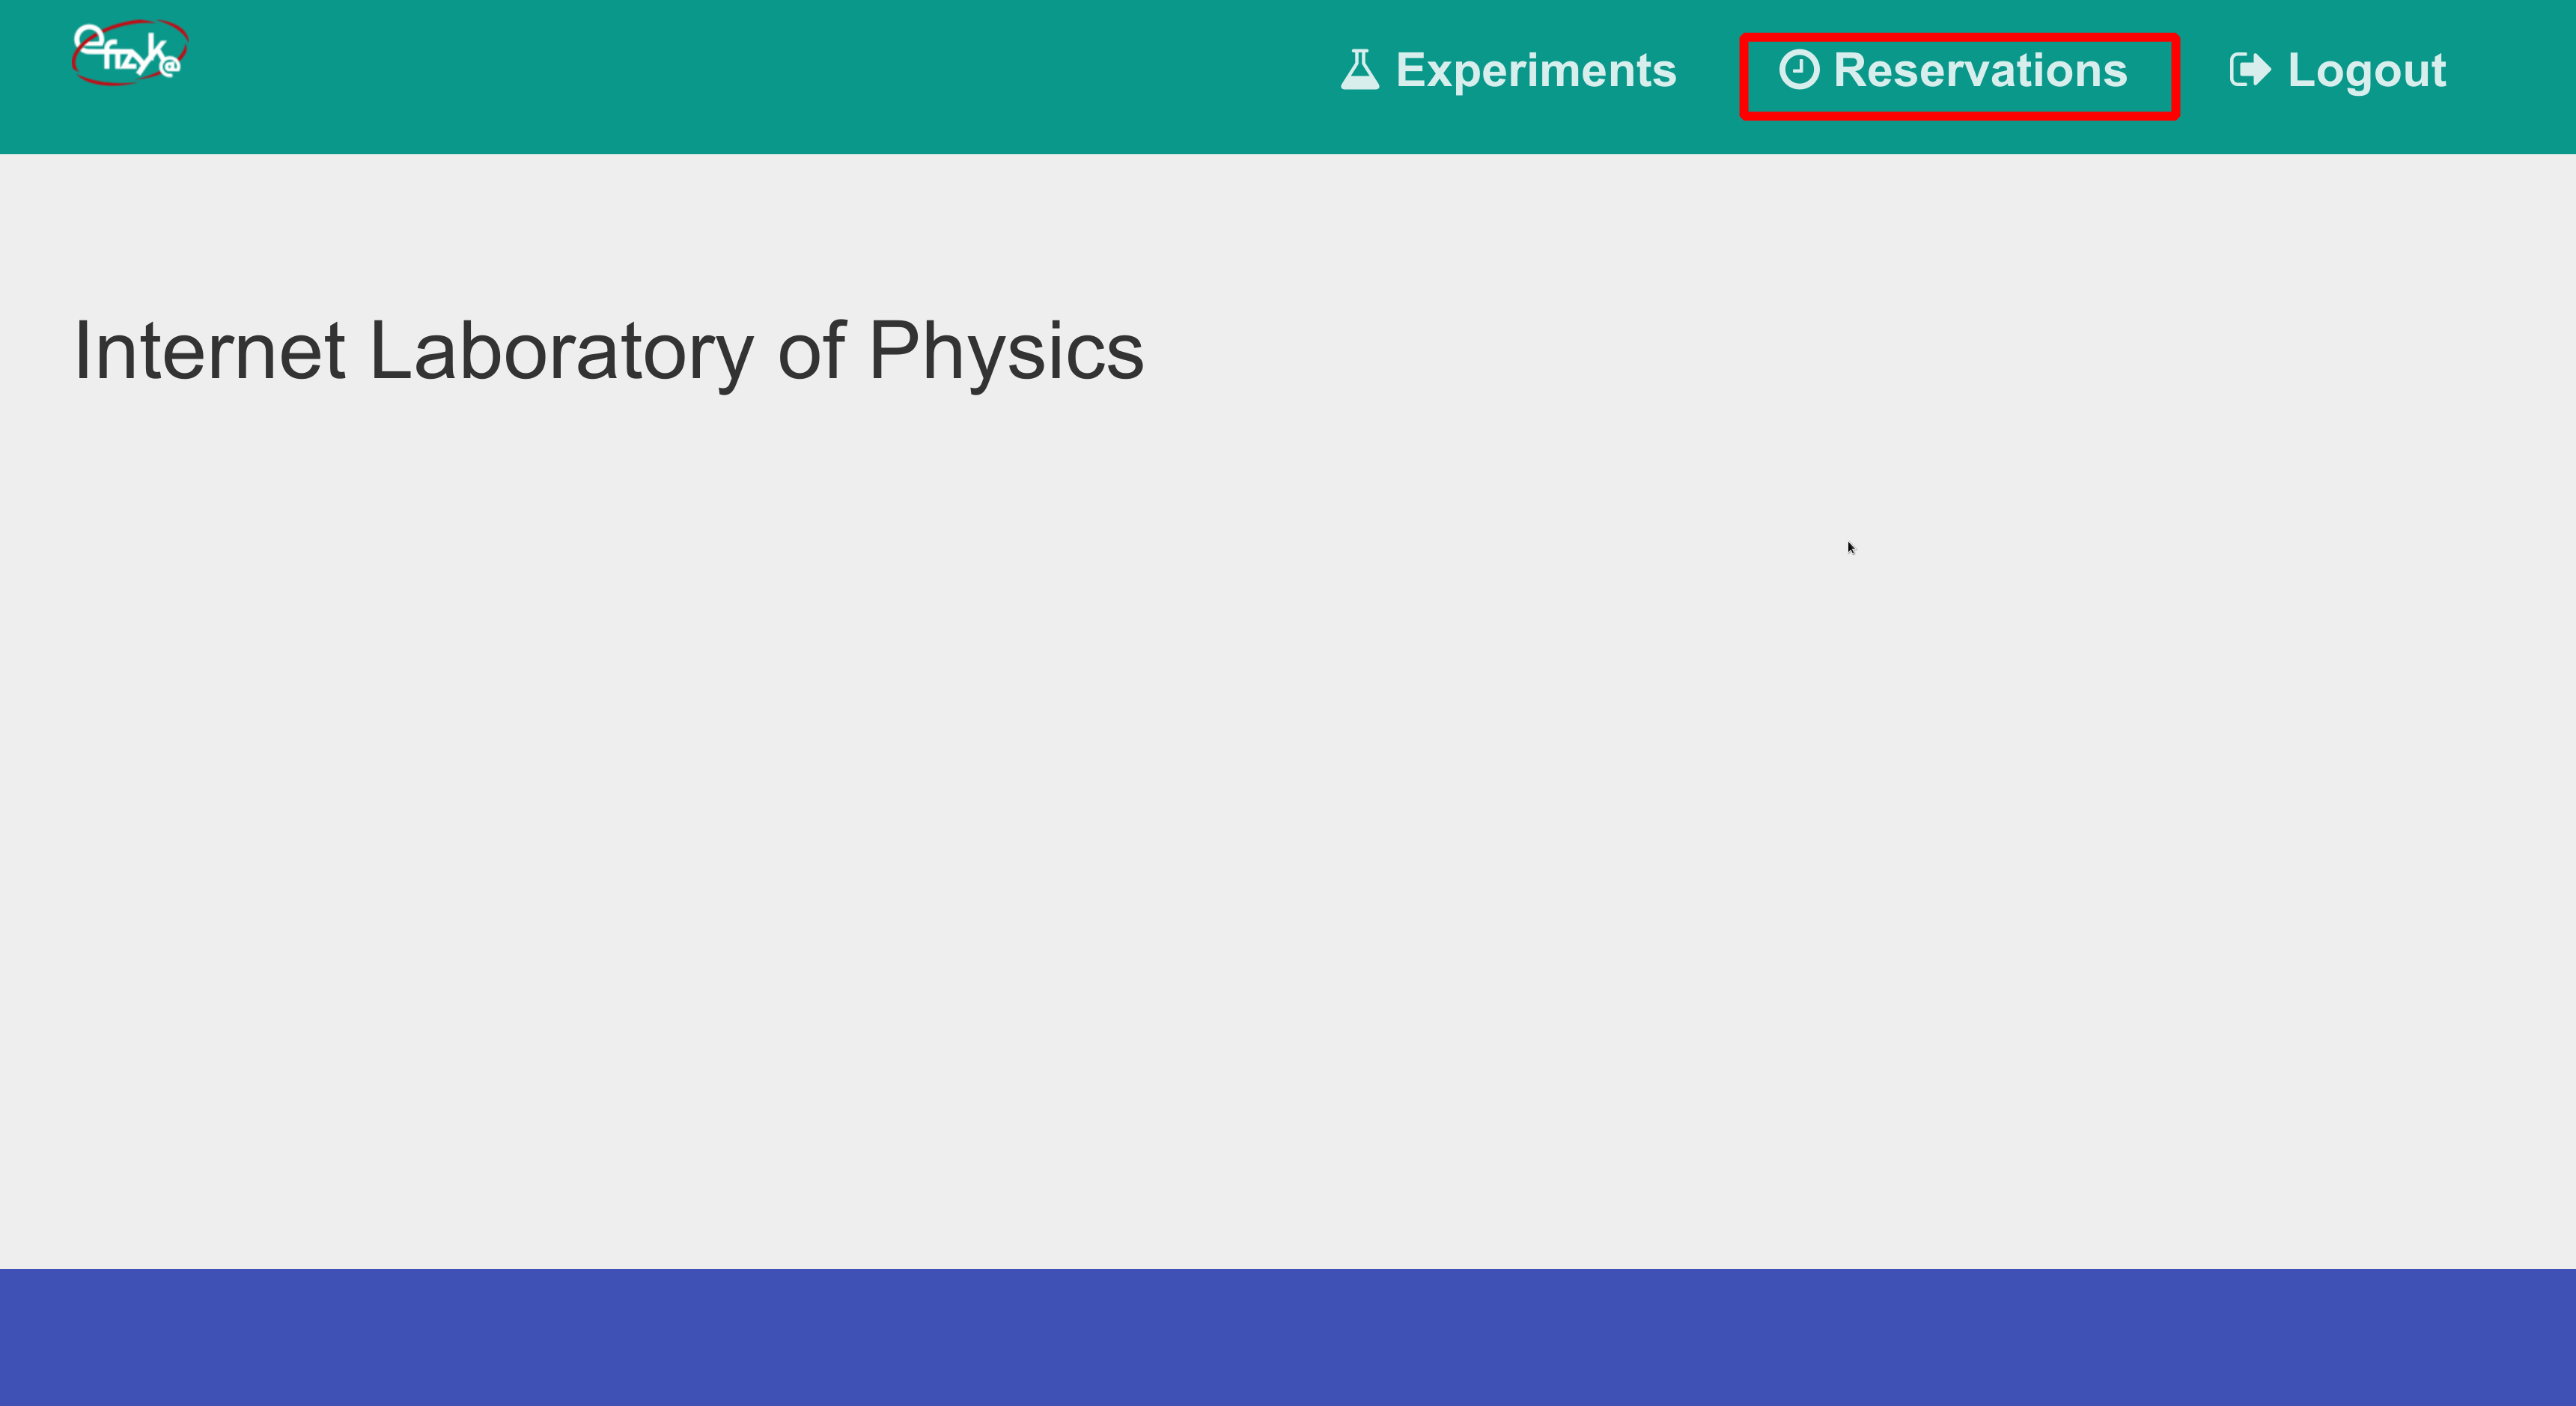
Reserving the experiment
When using the laboratory you are working on real hardware, so obviously only a single person can modify it’s settings. We call such person an “Operator”, other people using this experiment at the same time are “Observers”.
To become an operator (so really to use the experiment) you need to make a reservation, choose reservation button on the top, and fill in:
- Experiment name
- Reservation time — you can either “reserve for now”, which means you’ll get a reservation starting from now; or (for example if you want to do presentation during a lesson, you’ll need to fill in date and time for reservation).
To start reserving an experiment click highlighted link.
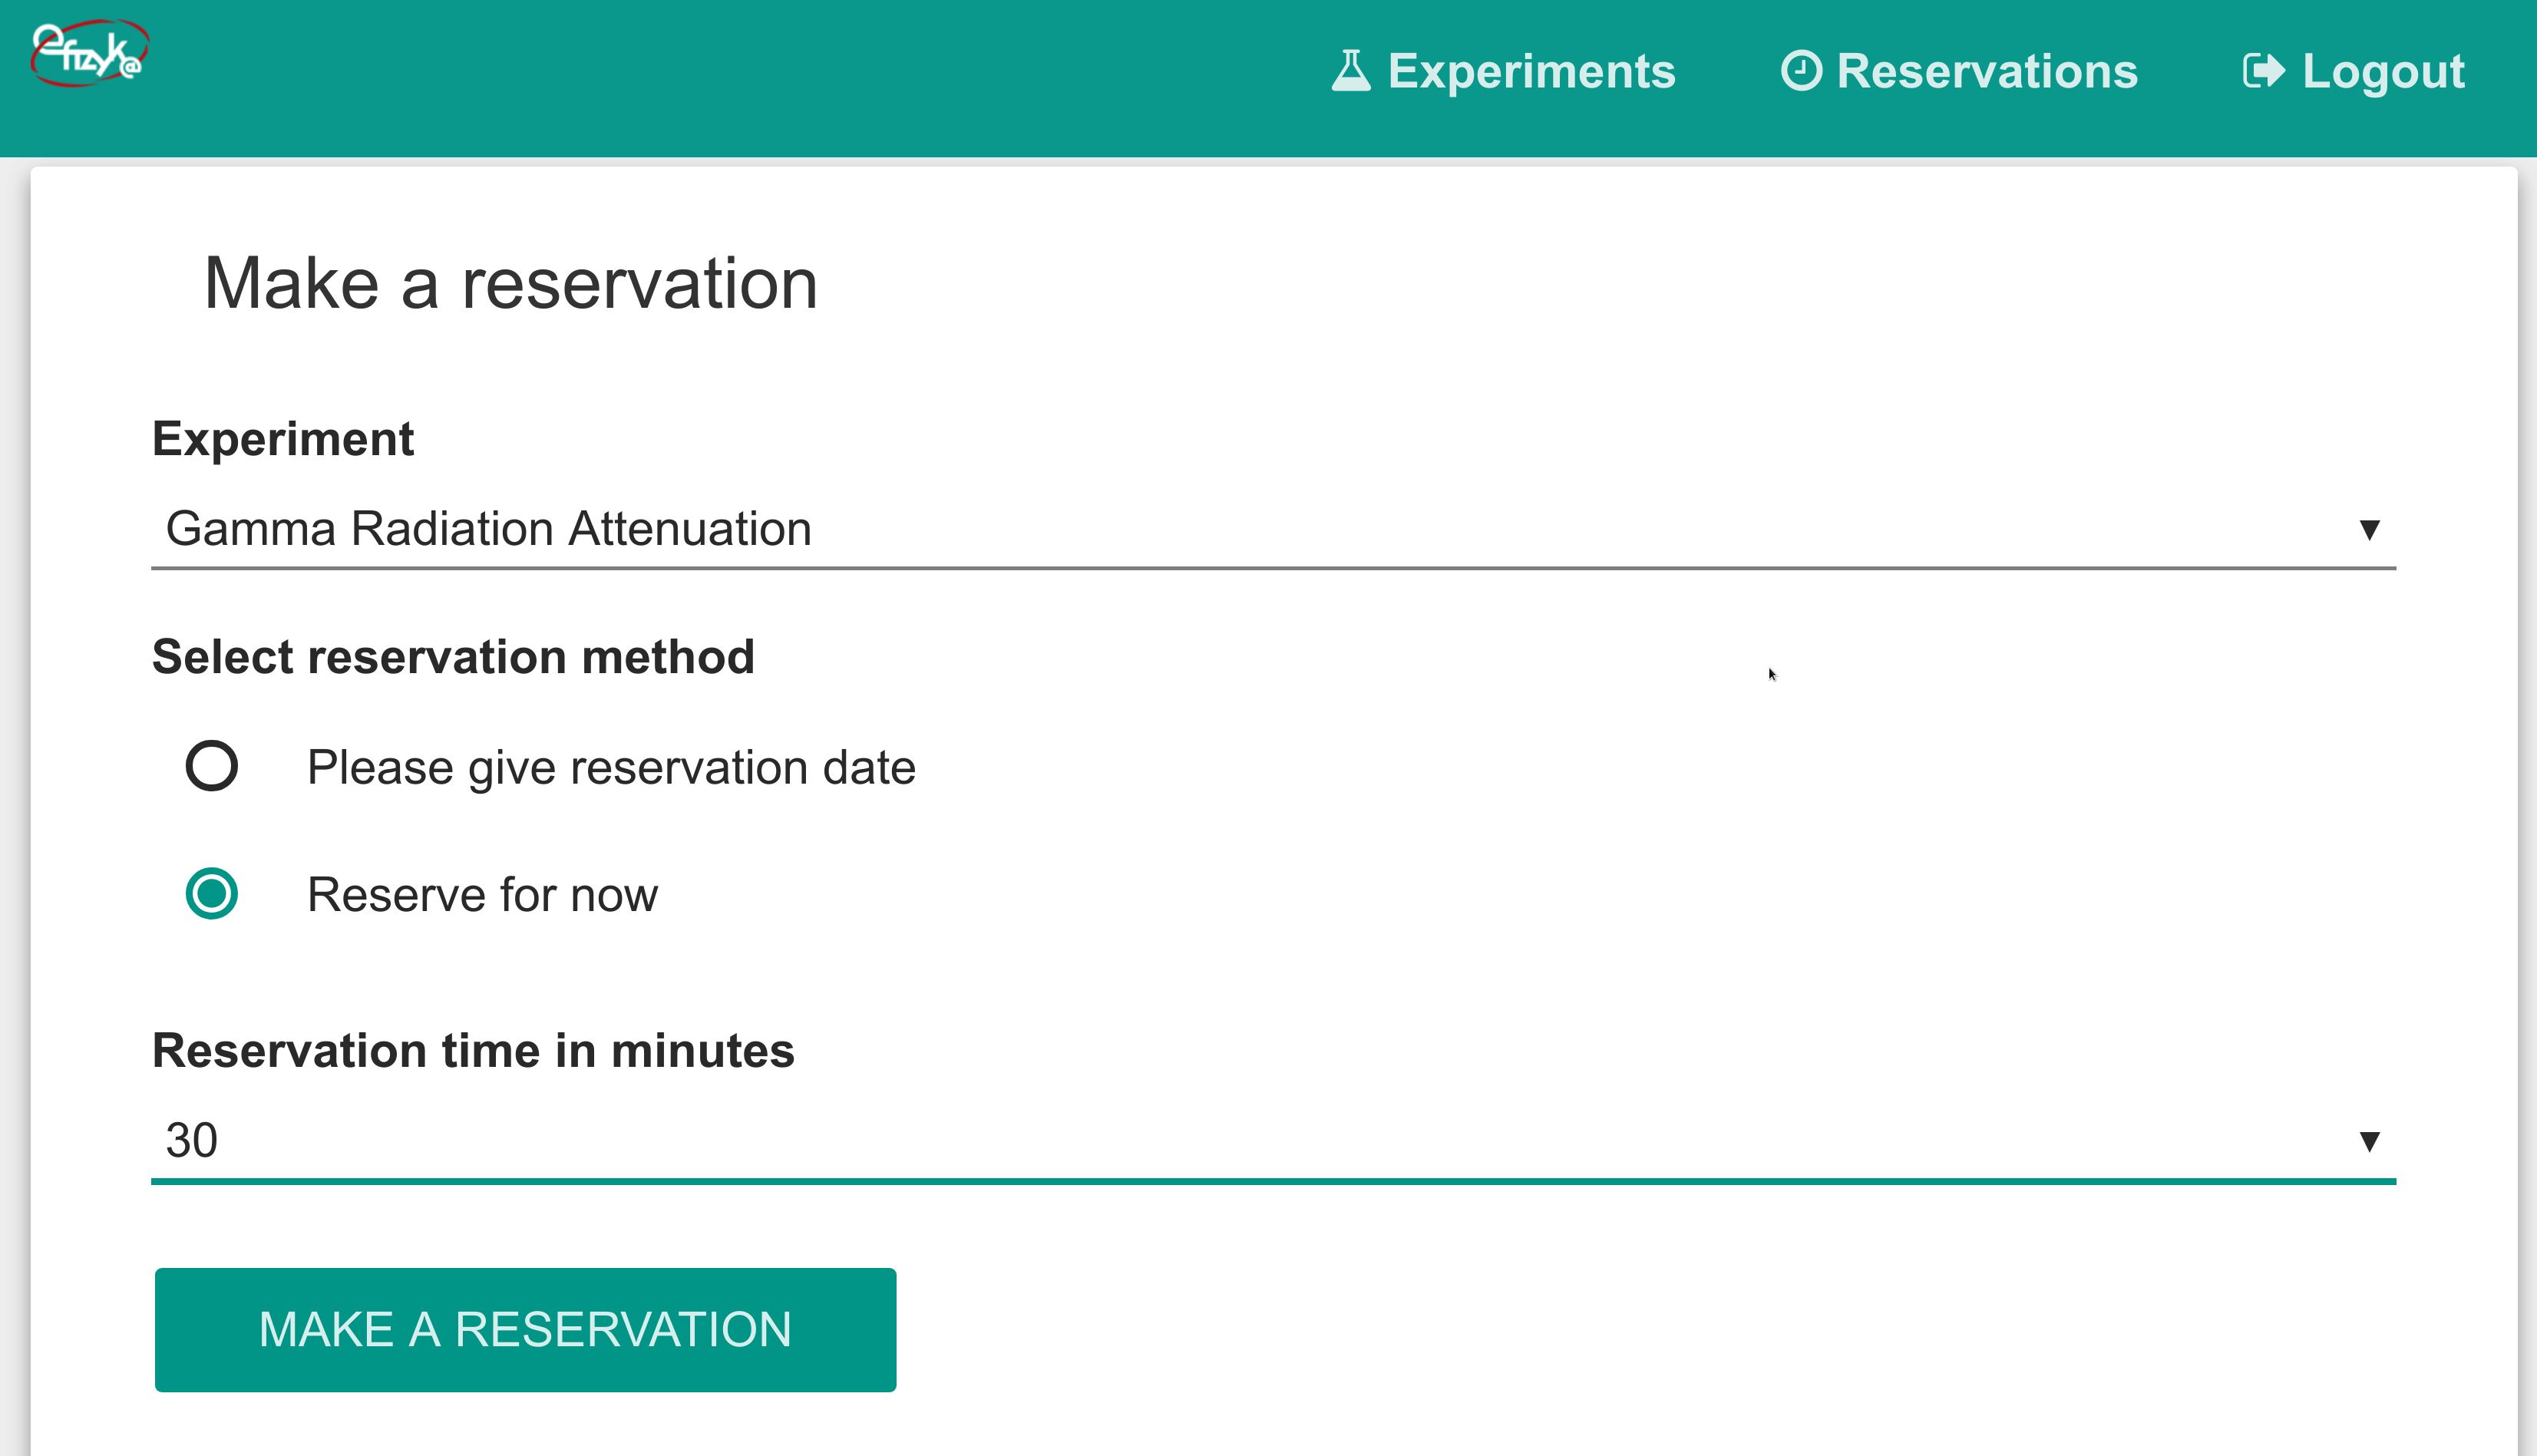
Example of filled reservation form.
Using the laboratory
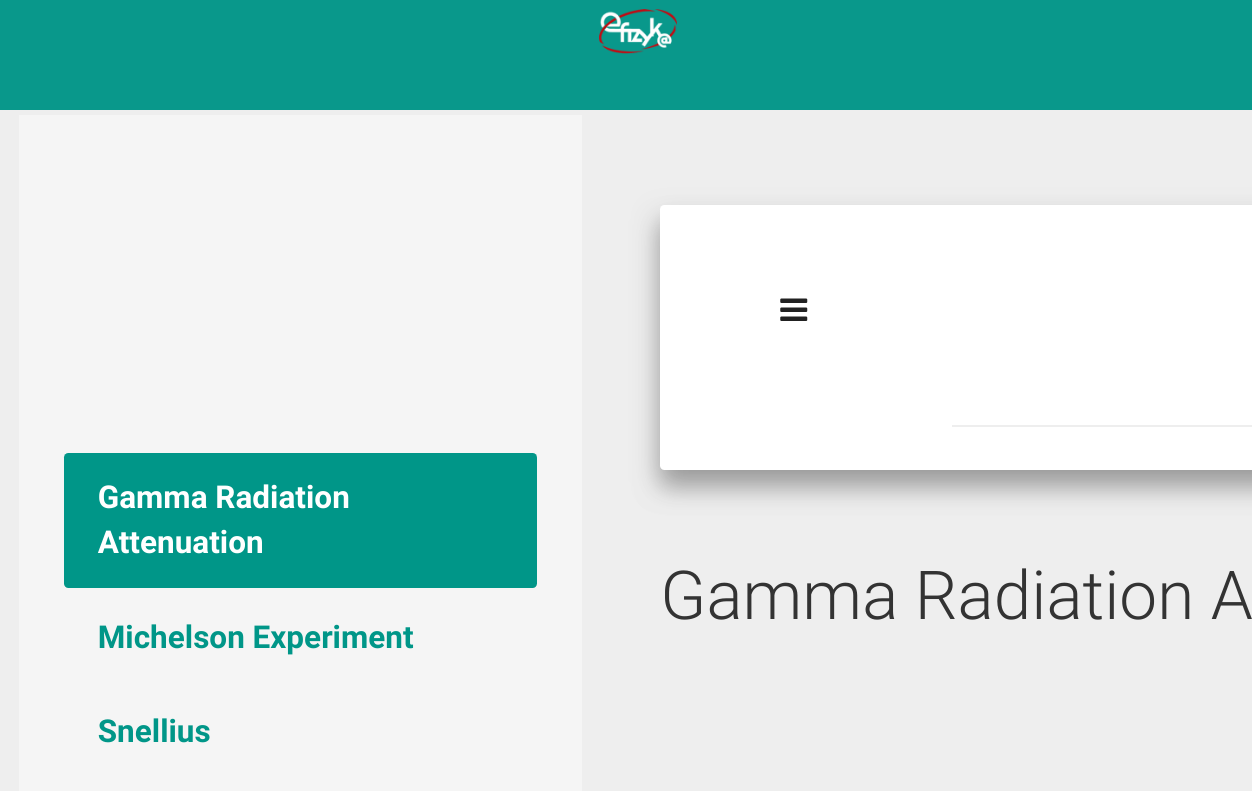
Click on the “Experiment” link at the top of the page. Then select the experiment from the left sidebar.
To start experiment click on the highlighted link.
Laboratory page with selected experiment.
Now you should see the following:
- Experiment title (if the experiment has a manual you’ll see an icon that will display the manual)
- Big green “connection” button
- Connection status information (it should read: “Disconneted”).
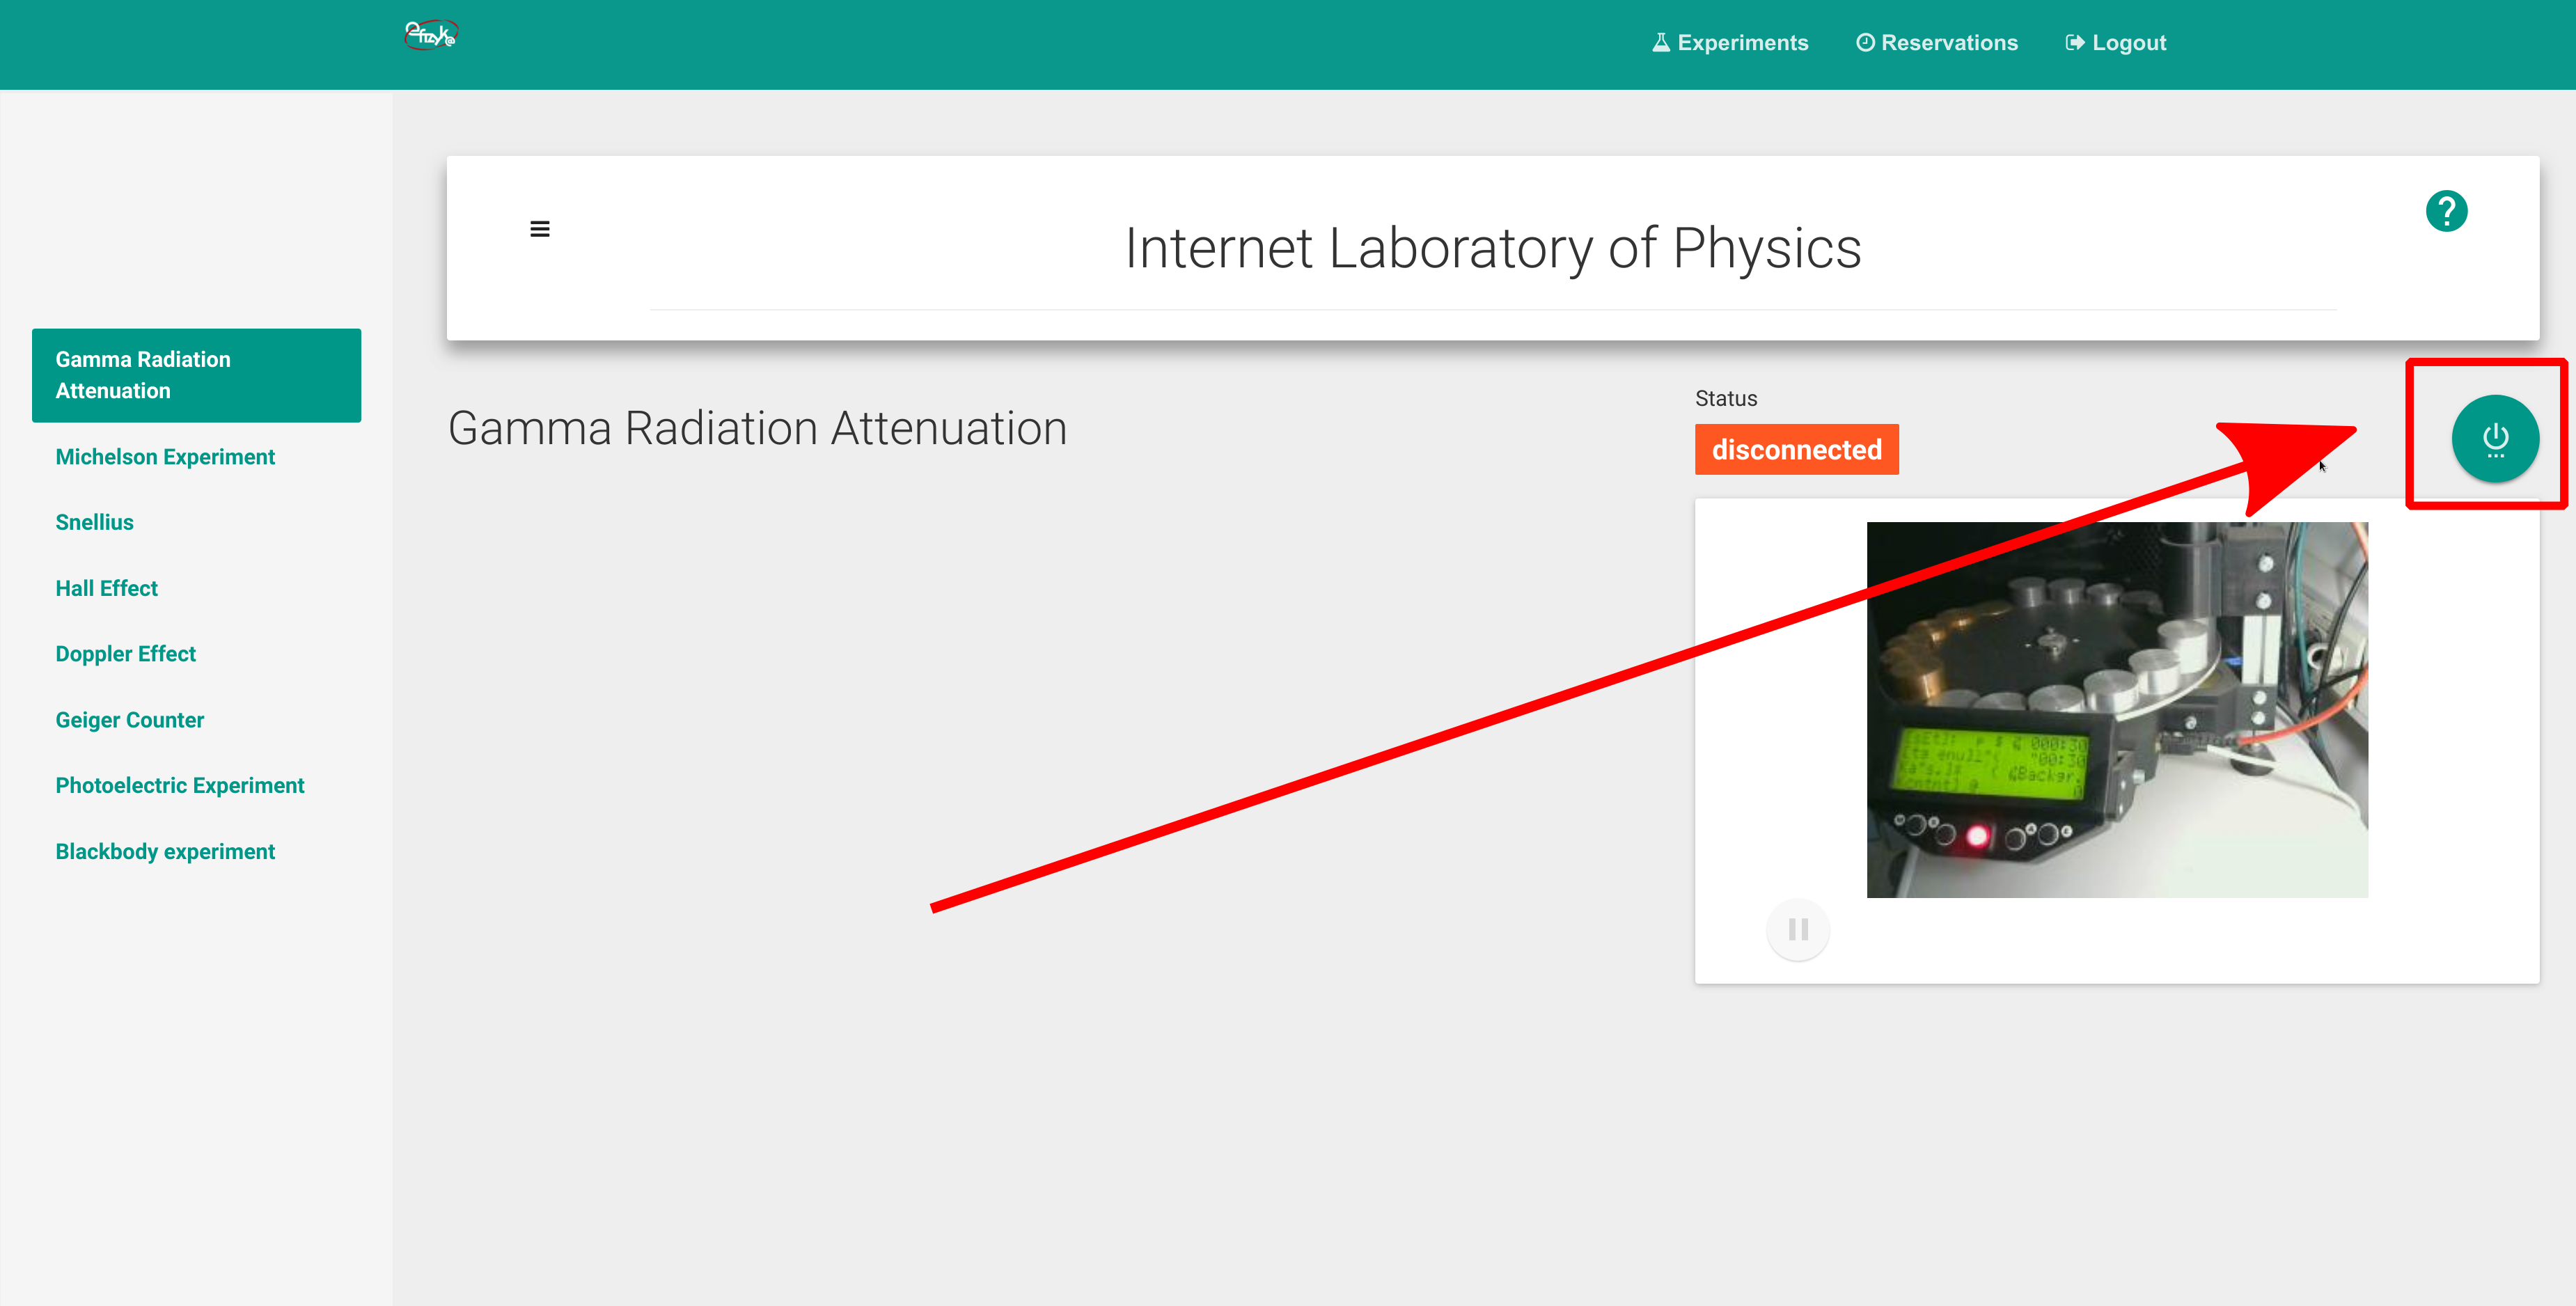
Laboratory page when you selected an experiment. Click on the highlighted button to make a connection and power up the equipment.
Click the green connection button, and following should happen:
- Green connection button changes to: “Disconnect button”.
- Status changes to: “Operator” (if your status is observer it means that you did not make a reservation, or your reservation time did not yet come).
- If this experiment supports experiment modes (see: :ref:”experiment modes below <experiment-modes>”) you’ll see experiment modes (in the example screenshot there are two modes: “Background radiation” and “Material”).
Connected experiment. To start it select mode and then click start.
If you can choose mode, select one of them (if not there is nothing to do).
Now you should see experiment settings, tweak the experiment settings and press “Start button”. After some time you should see (note that some experiments perform lengthy initialization so you may wait up to a minute for first results):
- Experiment device adjusting itself in the camera.
- Chart with experiment results filling itself.
When the experiment finishes measurements, “stop button” will gray out, and you’ll be able to start new measurement series by clicking start.
After each series you’ll be able to download experiment results by clicking on the links in under the “Download results for finished series” header.

Finished series. Notice: “Download results” button below.
To disconnect click red disconnect button.
Experiment modes
Some experiments allow you to make measurements in more than one way, e.g. for “Gamma Radiation attenuation” you can either measure background radiation, or measure radiation attenuation.
For each measurement type a distinct “experiment mode” is provided. You can switch mode after when current measurement is finished.
Laboratory in your native language
Right now polish and english interfaces are prepared for most of the experiments, you will get english version by default. If you want to see polish version, you’ll need to switch your preffered language to Polish in your browser.
In Mozilla Firefox you’ll need to: go to preferences page and select: “Preffered language”, and select Polish.
In Google Chrome: go to settings and add Polish to list of languages.
How to use the laboratory during your class
Using laboratory during your class is similar to using it yourself, but keep in mind:
- You’ll need to test connectivity from school beforehand. We had problems with school admins having very restrictive network policies;
- Test that you have recent browser installed in the classroom;